 |
| The spooky photo I posted on Instagram. |
I made this bunting as a way to use items I had on hand and to provide a little handmade flair for our upcoming Halloween party. I posted the result on a few social media sites and someone asked how I did it. It's so simple and a great project to work on while marathoning a show (I watched The Walking Dead).
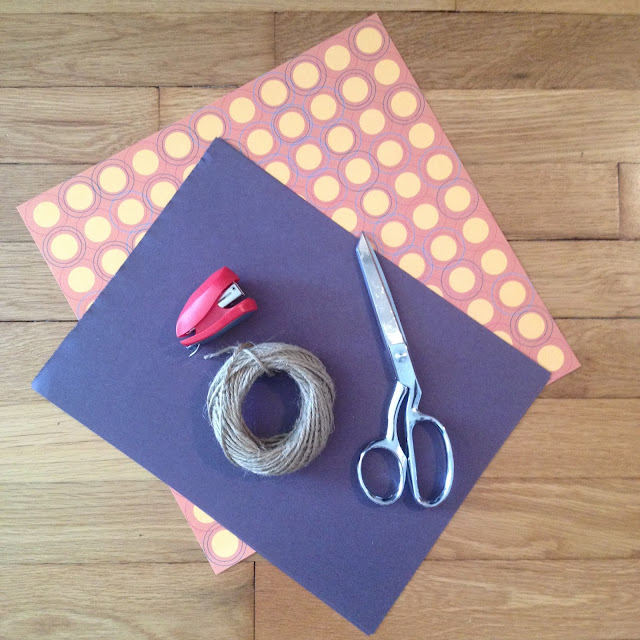
Materials:
- scissors
- stapler
- paper
- twine / yarn / string
Step 1: Fold one sheet of paper in half (hot dog style)
You can also fold it into fourths to cut the shapes more quickly, but for most of my pennants I folded the paper in half.
Step 2: Cut triangle or a notched banner shape
Remember to cut the sides that aren't folded. Repeat steps 1 and 2 for a variety of paper.
 |
| Steps 3 and 4 |
Step 3: Wrap paper pennant around your string and staple in place
You could use glue, tape, or even sew the segments together, but stapling was the fastest method I could think of. Be sure to alternate colors and patterns as you assemble the bunting.
Step 4: Tie off the ends with a simple slip knot
The knot creates a hanger for your bunting and will keep your pennants in place.
I'll probably make a few more near Christmas. Anything to use up my overflowing shelf of craft supplies!


No comments:
Post a Comment
I read and respond to each comment (either here or I will visit your blog.) Thank you for stopping by!